If you’re new to baking or just new to making sourdough, the process can seem daunting. It requires a kitchen scale, bench scraper and a dutch oven and some time and patience but with a little determination, anyone can master sourdough baking at home.
Sourdough is one of the oldest ways to make bread. Wild yeast and bacteria interact with flour and water to ferment and naturally leaven bread. The first step to making a deliciously tangy and fluffy loaf is an active sourdough starter. This means it’s been fed about twice daily for 2 to 3 days and bubbles aggressively about 4 to 6 hours after each feeding.
The process we outline below uses leaven, made from your active starter, to act as the rising agent be mixed into the dough. The leaven is made from a small amount of starter and equal parts flour and water. It is left to sit for about 8 hours or overnight to ferment before mixing the dough.
For the Leaven:
- 10 g active starter
- 100 g water
- 100 g Prairie Hard Red flour
Mix all ingredients in a bowl and let sit covered at room temperature for 6 to 8 hours or overnight if it’s more convenient. To test that the leaven is ready, conduct the float test. If a spoonful of the leaven floats, it is ready to be made into dough. If it sinks, let the leaven sit for longer.
For the Dough:
- 100 g leaven
- 500 g Prairie Hard Red flour
- 375 g water
- 10 g salt
Autolyse
Mix the leaven and water in a bowl, dissolving the leaven with your hand. Once it is mostly dissolved, add in the flour and mix with your hand until a shaggy dough is formed. It doesn’t need to be well mixed – just make sure there are no bits of flour remaining. Let the dough rest in the bowl for 30 minutes.
The autolyse phase gives the flour an opportunity to fully absorb the water, allowing the dough to become more cohesive and workable. The autolyse phase encourages active gluten formation without kneading.
Mix in the salt, pinching the dough between your thumb and fingers. The goal is to squeeze balls into the dough, incorporating the salt while breaking up the gluten network that has formed during the autolyze phase. Let the dough rest for 30 minutes.
Bulk Fermentation
The majority of sourdough’s strength and flavour develops over 3 to 4 hours during the bulk fermentation phase. During the first 2 hours of bulk fermentation, we perform a series of turns and folds. Complete one fold by sliding your hand between the far edge of the bowl and the dough. Grab the dough and fold over toward you – this is one fold. Turn the bowl and do this again on the new side, turning the bowl and repeating until the dough firms up, which should take 3 to 6 turns. Repeat this process three more times at 30 minute intervals.
During the remaining 1 to 2 hours of the bulk fermentation, the dough is left to further ferment and rise at room temperature. During this phase, the yeast activity creates CO2 which can now be trapped by the gluten that has been stretched from the folds.
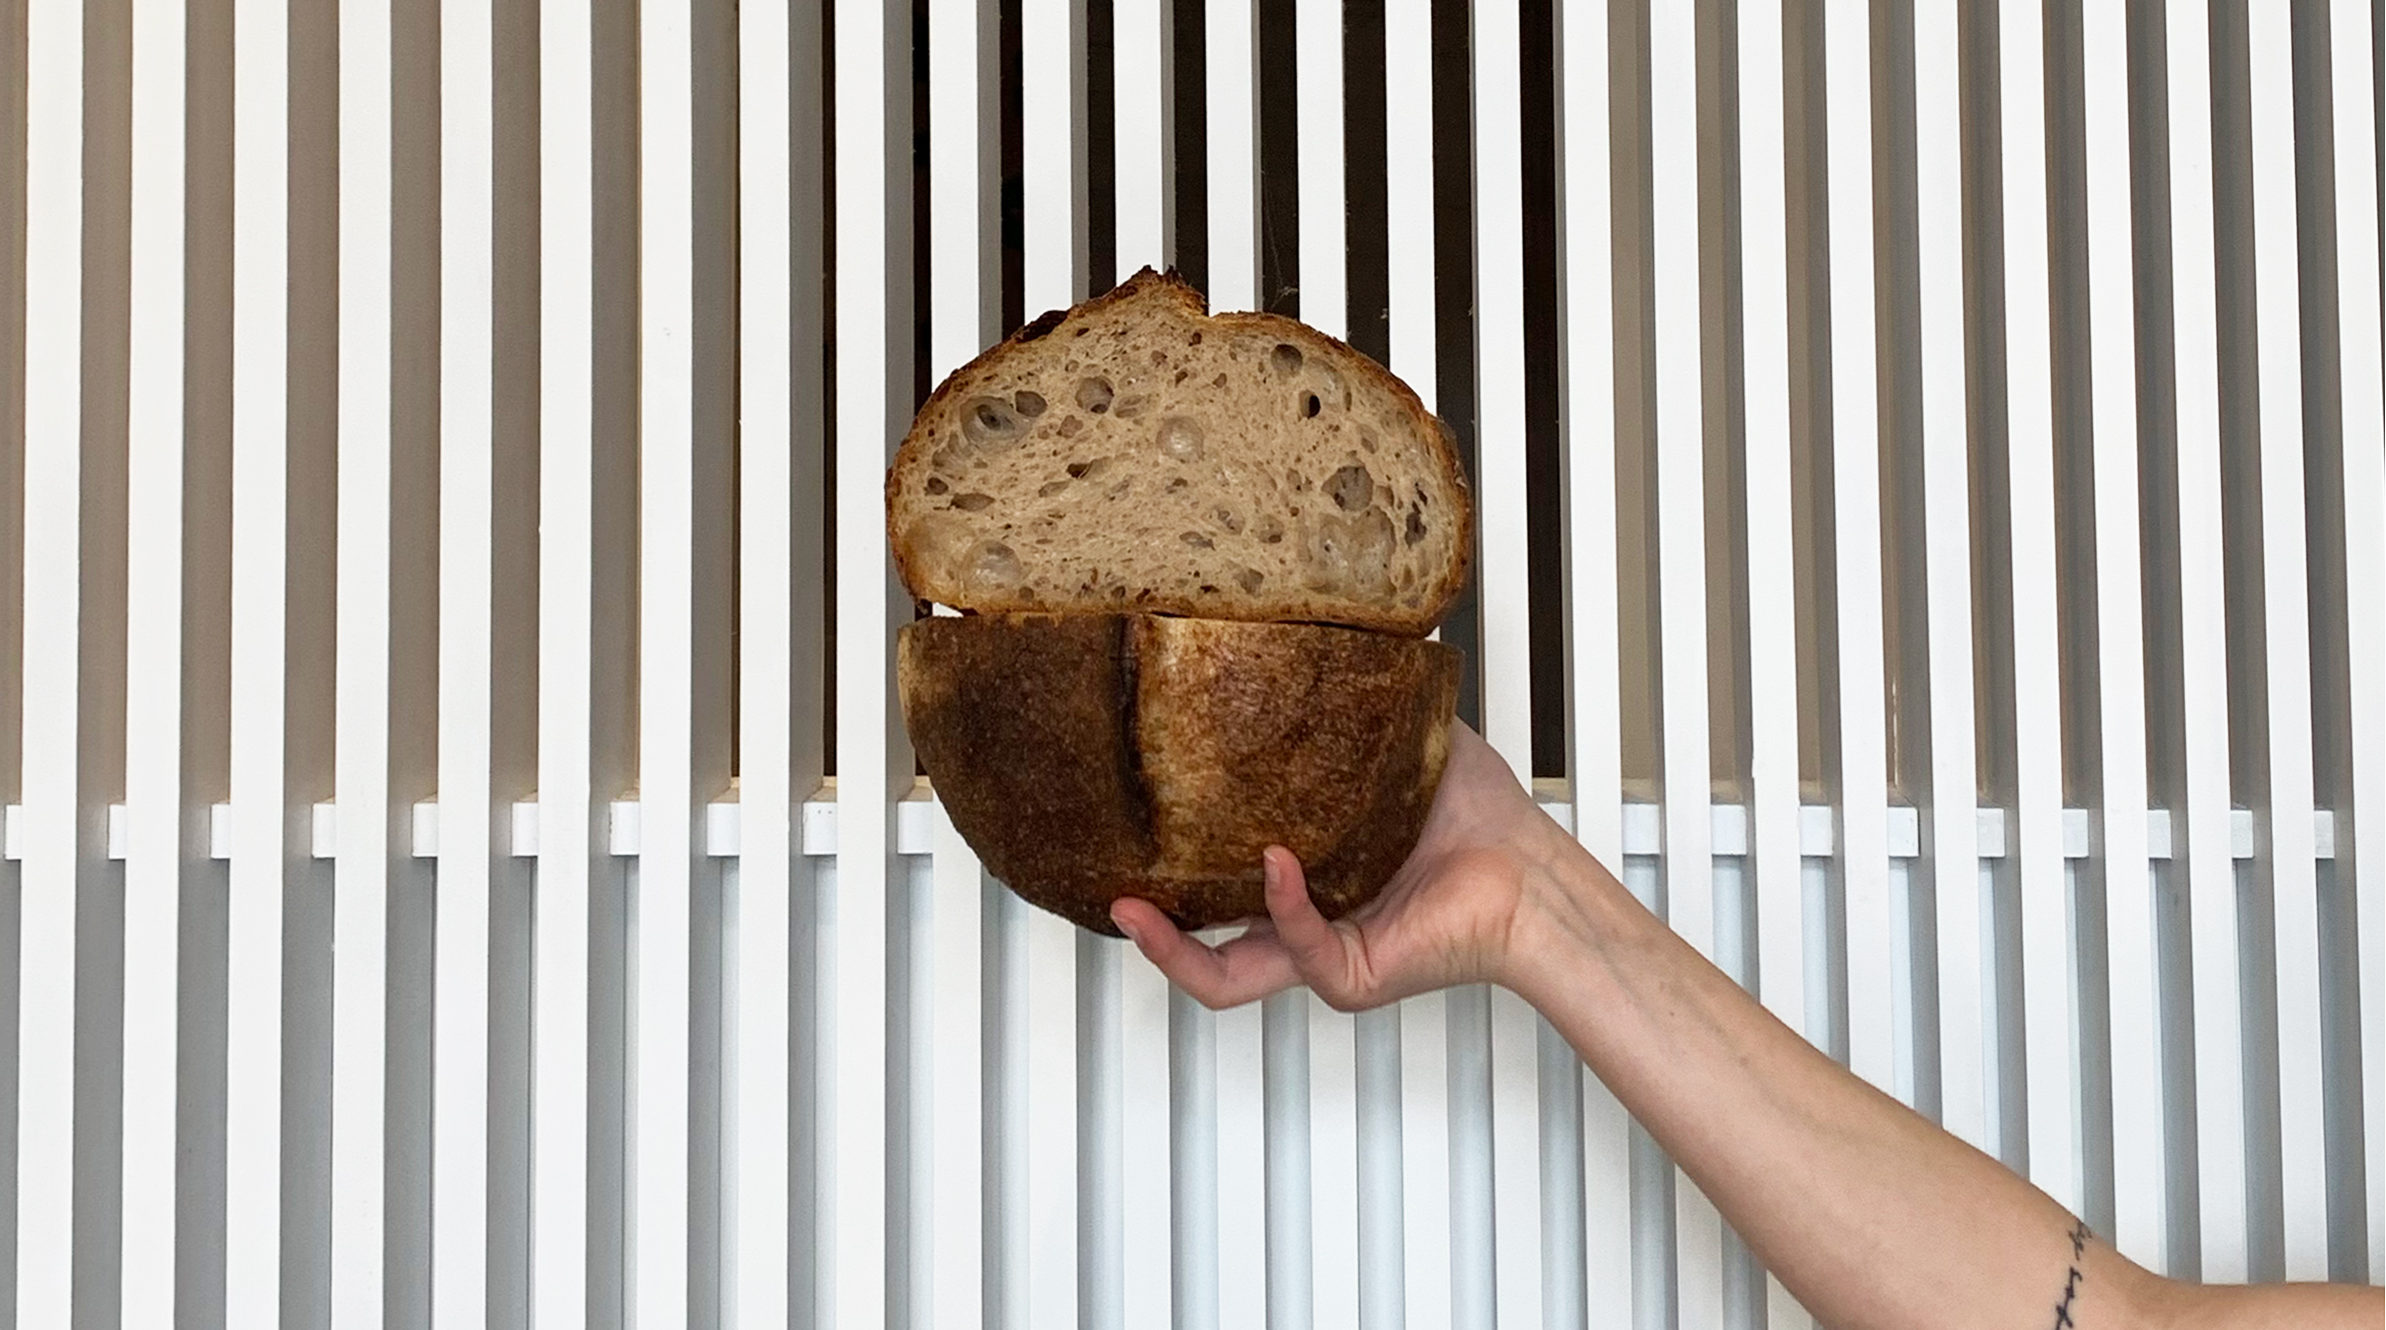
The folding process helps stretch the gluten network so more air pockets can form in the bread, creating an even, light and airy crumb. At the end of bulk fermentation, the dough should be light and have increased in volume by 20 to 30 percent. If it hasn’t, let the dough rise for up to another hour.
The First Shaping
Scrape the dough onto a floured work surface. Using a dough scraper fold the dough in half so the floured surface is on the outside. Work the dough into taut rounds to build surface tension. Sprinkle flour on the round and let rest for 15 to 20 minutes.
The Final Shaping
Using a bench scrape, flip the ball of dough so that the floured surface is face-down. Using both hands, grab the edge of the dough closest to you, stretch it out lightly and fold it up to the middle of the dough. Fold the right side over, then the left and finally fold the top edge to meet the others in the middle. Repeat this process on all four corners.
This process can be tricky when you’re first starting out so it is best to watch a couple shaping videos on YouTube. This will help you get a better idea of the technique before practicing on your loaf.
Line a bowl or round basket with a tea towel. Cover with more flour than you think you’ll need. Place the dough round, floured side down in the lined bowl and cover lightly with a towel.
Proofing
One of the last steps in the sourdough process is proofing your loaf. During this step, your loaf will continue to ferment, developing more flavour, and will undergo most of the rise. You have a couple options for this – you can let the loaf proof on the counter for about 3 to 4 hours or let the loaf proof in the fridge for 8 to 12 hours.
We recommend proofing your dough in the fridge as it slows down or retards the fermentation, providing more predictable final product and resulting in a more sour flavoured loaf.
Bake
Turn your oven on to 500 degrees, putting the dutch oven pot and lid in to warm up. Keep the dutch oven in the oven for about 30 minutes after the oven has come to temperature. Pull out your loaf from the fridge and flip onto a piece of parchment paper. Score the loaf with a sharp knife or razor blade. Scoring your loaf involves cutting lines in the crust of the dough to give it points for expansion when in the oven. Many experienced bakers score elaborate patterns on the top to help add to the aesthetic but this takes practice. You can score an ‘X’ or square in the centre of the loaf is a great start.
Carefully slide the loaf and parchment paper into your heated dutch oven. Bake covered for 20 minutes at 500 degrees. Lower the oven temperature to 450 degrees, and bake the loaf uncovered for another 20 minutes.
Transfer the bread to a wire rack and let it cool for at least 30 minutes before cutting into it.
Enjoy the bread on its own or with your favourite spread!